1.6.7 Optimizing the 2D Image
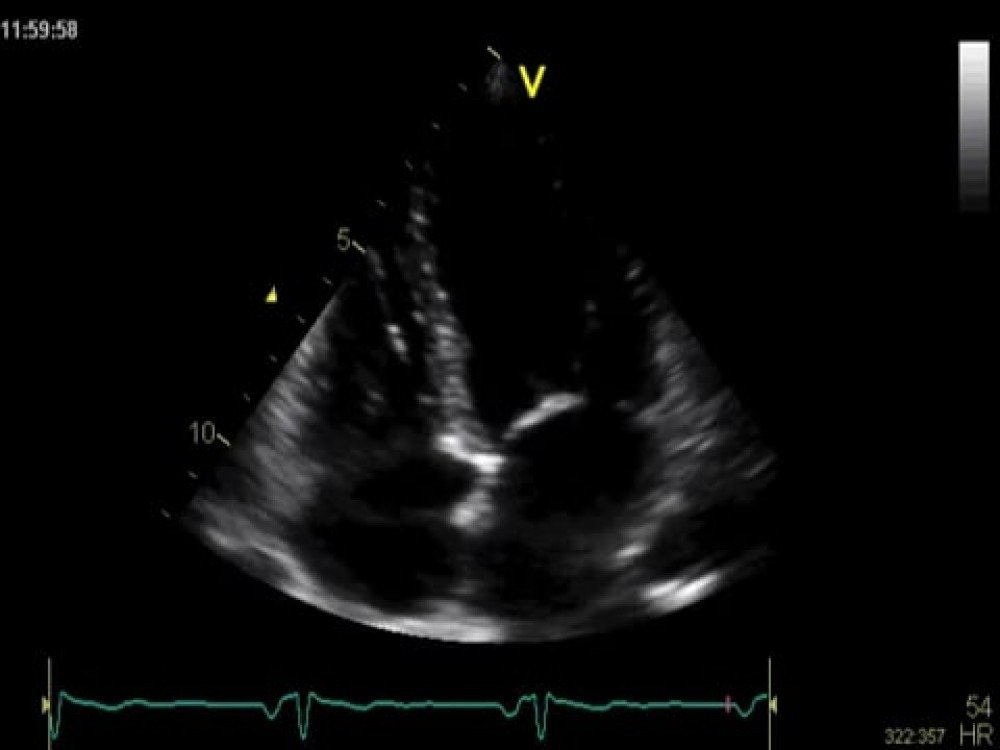
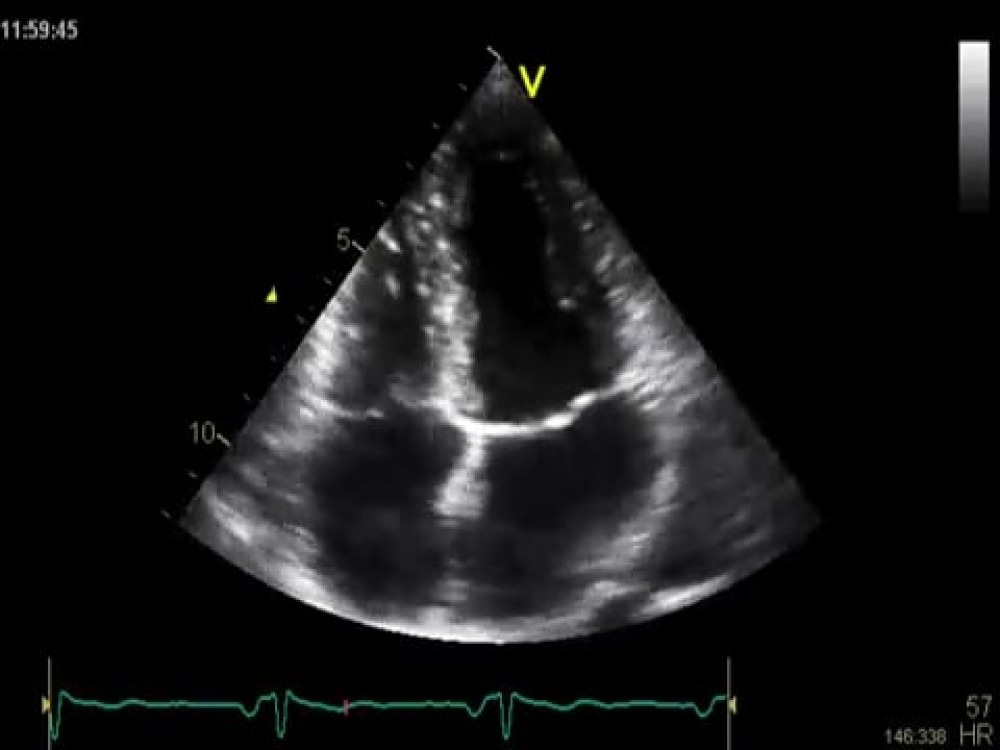
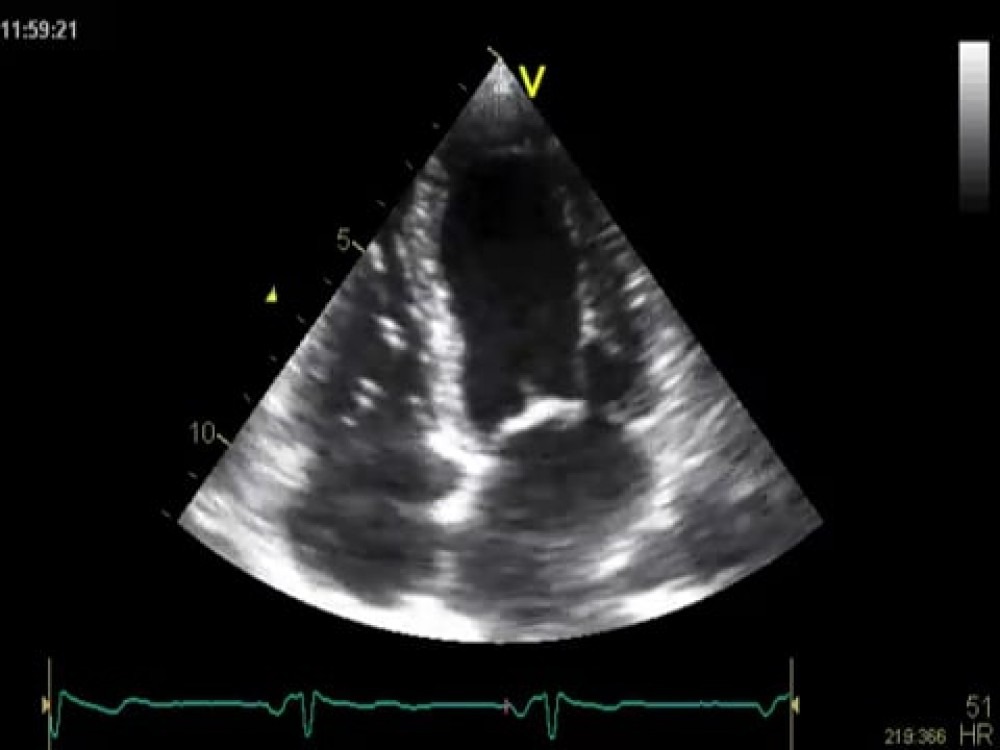
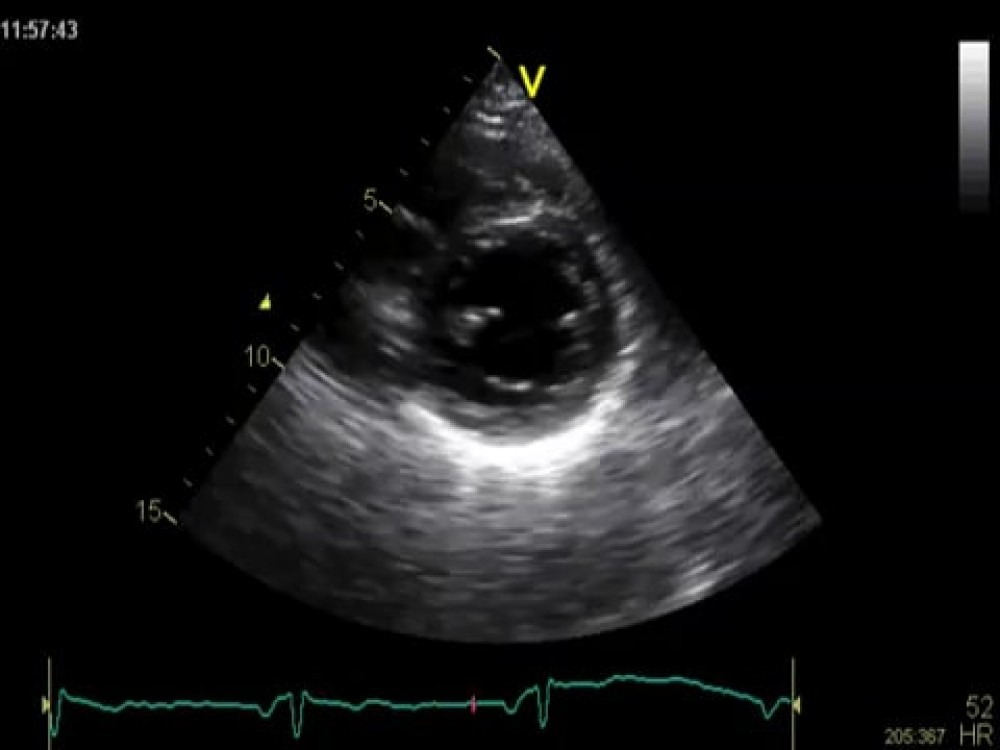
Modern scanners are equipped with several features and adjustments to optimize the image. Even though it is the technical skill of the operator that largely determines the quality of the image, it is also important to know how specific "buttons" influence the 2D image. To make things easier, scanners provide presets which define the settings for certain applications (such as adult echo, patients who cannot be easily investigated, contrast studies etc.). These presets define the start-up features for all of the settings listed below.
Know your echo apparatus well. If you "get lost" with your settings, simply restart the original preset.
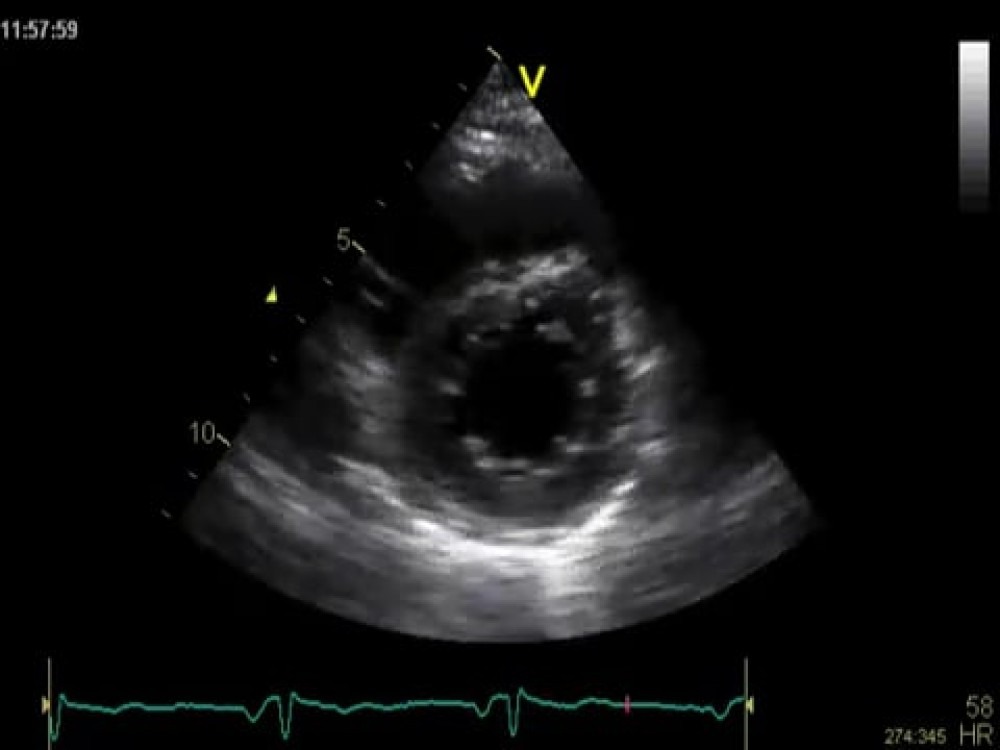
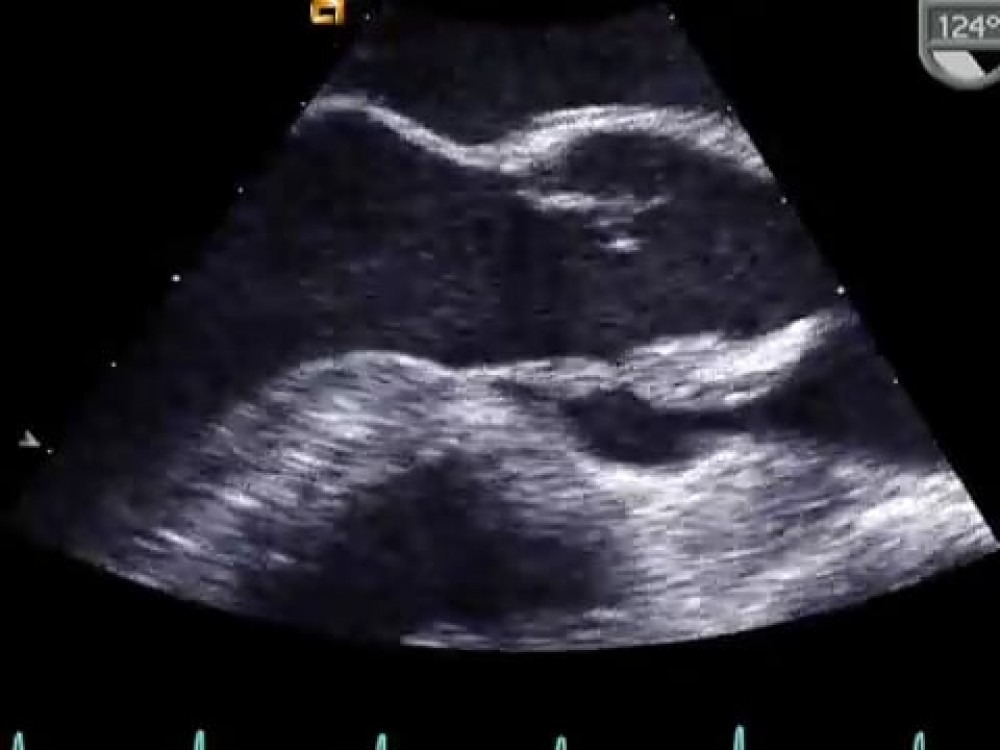
Gain: The gain function compensates for attenuation. When you increase gain you are amplifying the receive signal (not the send signal). The image becomes brighter. An excessive increase in gain will add "noise" to the image. In addition, you will be unable to delineate the different "shades" of gray because all reflectors above a certain brightness will have the same (maximal) grayscale value. If the gain is too low, tissue with a low reflector intensity will not be seen. It is also possible to adjust gain in specific depths of the image (far or near field) with the aid of time compensation gain (TGC) knobs. Some scanners have a function whereby gain (and the dynamic range) is automatically adjusted throughout the image in "real time" to compensate for attenuation.
Focus: Similar to a photo camera, the ultrasound beam has a focal zone. Although modern transducers generally provide "sharp" images, the quality of the image is best at the focal zone. In most scanners the focal zone is set to a region that is 2/3 of the total depth. Some scanners also use dual or multiple focal zones. Usually it is not necessary to adjust the focal zone. However, when looking for details in the near field (e.g. LV thrombus on a 4-chamber view) or the extreme far field, it would be advisable to adjust the focus zone.
Depth: The depth determines how "deeply" into the body one wishes to image. Depth is depicted along a scale at the side of the sector (in cm) and should always be selected so that all you wish to see is visible but not much more. Depth influences spatial resolution, pulse repetition frequency (PRF) and frame rate.
Spatial resolution and frame rates drop when you increase depth.
Dynamic range: The dynamic range is the range between the minimum low and maximum high signal intensity that is displayed. The larger the dynamic range, the greater is the contrast resolution. Usually it is advisable to set the dynamic range to its maximum. However, in the presence of a large quantity of low-level noise, reducing the dynamic range can improve the image.
Zoom/ RES function: This function permits magnification of specific regions. The image is displayed larger within a region of interest (box). As the scan line density may be concentrated on a smaller region, image resolution is also higher.
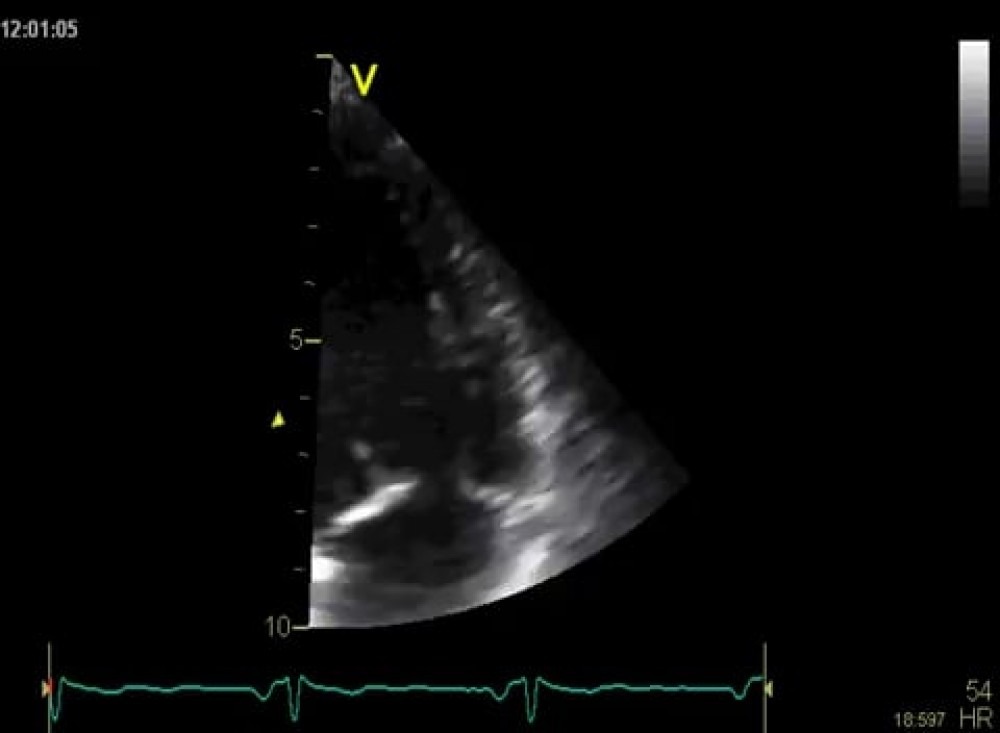
Sector width: Selecting the sector width is always a trade-off between the field of view on the one hand and frame rate and image resolution on the other. Therefore, keep sector width at a minimum.
Imaging frequency: Most transducers permit the investigator to change the imaging frequency to adapt to individual needs. In slim patients in whom depth is not an issue, you may use a higher imaging frequency and thus increase spatial resolution. In addition, you will be able to switch from harmonic to fundamental imaging.
Harmonic imaging should be the preferred choice in most settings.
Frame rate: As mentioned earlier, frame rate is influenced by several settings (imaging frequency, depth, sector width). It is also possible to directly adjust frame rate. However, remember that increasing frame rate will also reduce image resolution. Frame rates can be increased "artificially" by simply interpolating between frames (averaging).
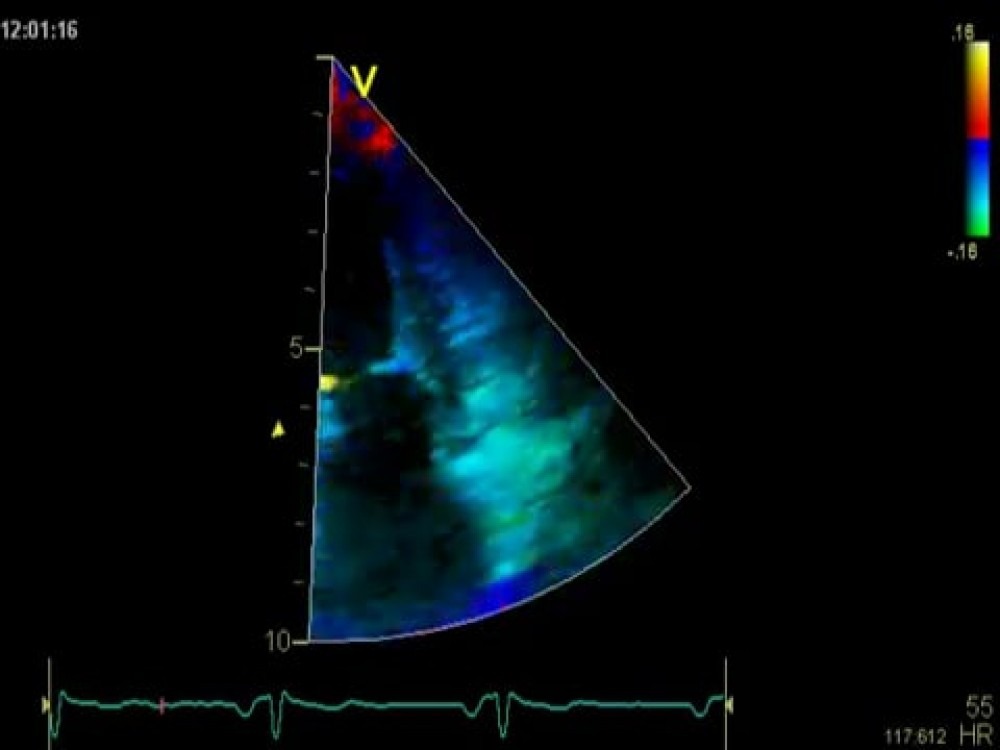
Sector tilt: With the sector tilt function it is possible to focus on a certain angle of the sector. This can be helpful if you wish to focus on segments of the image that lie laterally in the original sector. The sector can still be kept narrow to achieve high frame rates. This feature is useful when you perform tissue Doppler investigations of the lateral walls of the ventricles.
In addition to the above mentioned "main" settings, individual scanners offer a wide array of post-processing features, such as the ability to choose different colors maps for grayscale display, edge enhancement, etc.

