
Ultrasound 101 – Part 9: Quantification and Documentation in Ultrasound

Welcome to Ultrasound 101. In this 12-part series, we will talk about the basic principles of medical ultrasound, the equipment you will use, the settings on your machine, and how to use sonography in your patients. Each part will focus on a specific topic and allow you to experiment with the scanner, adjust the settings on your machine, and get the best out of your ultrasound examination.
In the last parts, you learned a lot about your scanning hardware, the settings on your machine, what you can and can not see, and how to get a good image in the first place. Today, we have prepared a short video for you about documentation and quantification in ultrasound because, after all, measuring and saving our findings is an essential part of our work as sonographers.
The freeze button
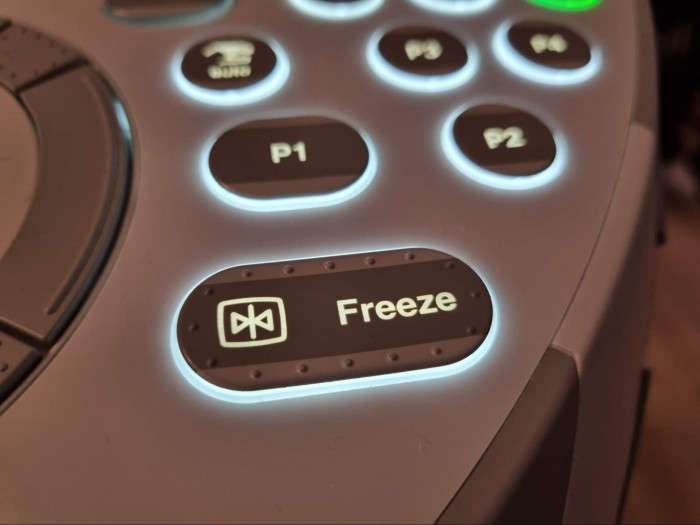
This little button is the one every sonographer presses most throughout the day and is placed very prominently at the center of your console. It does just what it says - it freezes the image, allowing you to take a closer look at all the structures and pathologies you might see. It also frees your hands and the patient's position, so you don't have to keep holding a difficult view, your patient can breathe normally again, and so on. Freezing the image also allows you to discuss what you see with your colleagues without stress or show your students some details on the screen. Most scanners also let you scroll back a few seconds, often frame by frame, until you get exactly what you want to see (e.g., the moment the aortic valve closes or the moment the left ventricle is at maximum filling).
Save your images
Don't forget to save the images you make of the patient. Just like an X-ray, a CT, an ECG, or a blood test, ultrasound images are part of the patient's file and should be kept with the rest of the diagnostic findings. Modern ultrasound machines allow you to save images and short video clips directly into your hospital's IT system or on your scanner's hard drive. This will enable you to review them later on your own or with your colleagues, mentors, or mentees.
Measurements
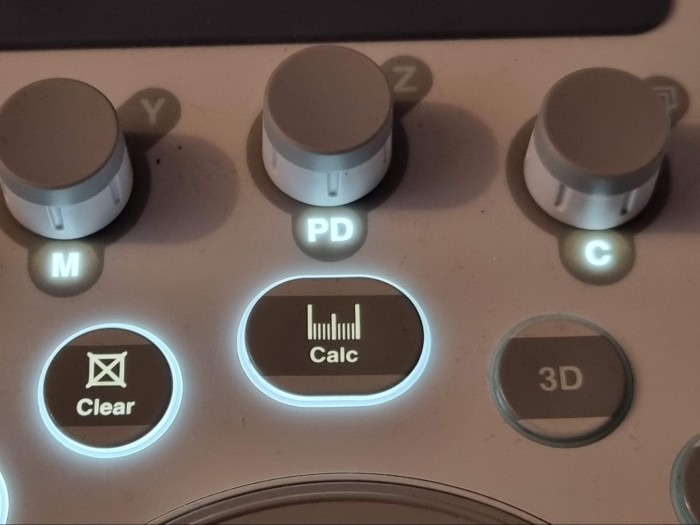
Every scanner has a measurement function; some are more basic, i.e., limited to a single-length measurement. Some have complex algorithms that allow you to measure a whole 3D structure, like the urinary bladder, in several views. For example, machines for echocardiography might let you measure a chamber's volume or a valve's opening area. In contrast, OB scanners may have a program for the crown-rump length or the baby's head circumference. Measurements don't only allow you to quantify your findings but also compare them to the patient's last visit (if you saved them - I told you this was important!).
Split screen
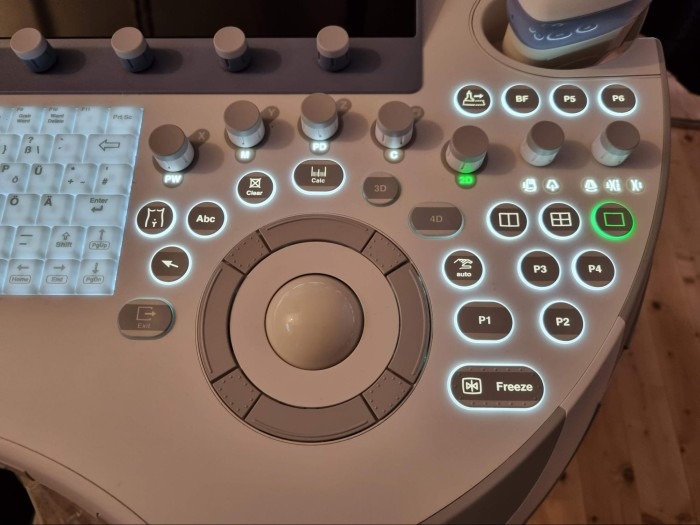
Larger scanners let you split the screen into four parts, each of which can be frozen independently. This allows you to see a structure in more than one plane simultaneously, for example, or to compare the patient's left and right sides. You can also have one part frozen in B-mode and simultaneously look at the moving image with color Doppler on the second half. Lastly, this function can be used as a "low-tech" panorama function: freeze the first half of a large structure, move the transducer, and freeze the second half - you can now save a complete view of the area.
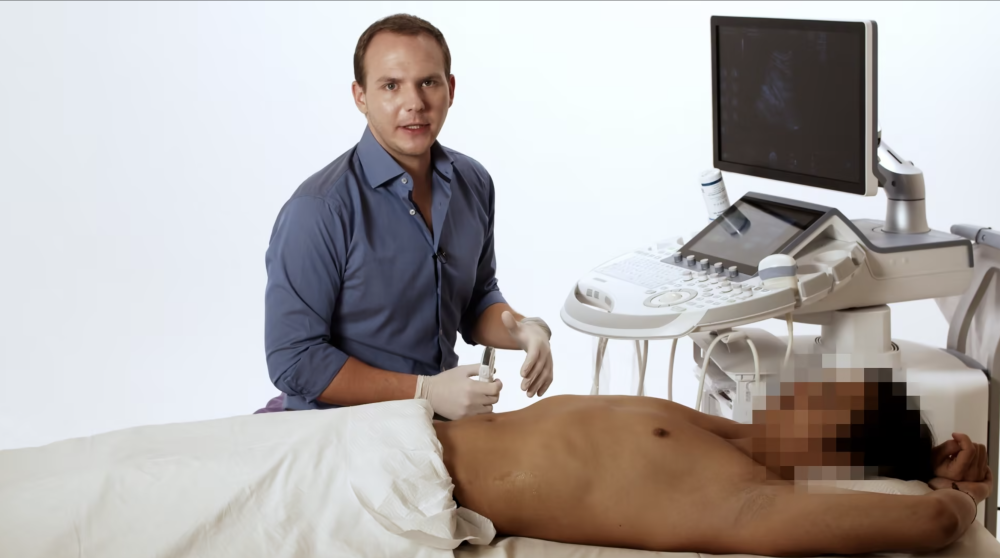
Video
Now let's put this into practice. Here is a short video demonstration showing your machine's three key features and how to use them.
Conclusion
Today we talked about how to use the functions of your ultrasound machine to quantify your findings, enhance your documentation, and support your own learning and teaching. Now it is your turn to try out these functions on your scanner and build them into your routine. Play around with them, and get comfortable using the buttons - this will enhance your imaging skills and make you look like a pro when performing an ultrasound examination. In the following article, we will talk about color Doppler and why this is a function not only echocardiographers need. Until then, enjoy imaging!