
Ultrasound 101 – Part 6: Optimizing the Ultrasound Image

Welcome to Ultrasound 101. In this 12-part series, we will talk about the basic principles of medical ultrasound, the equipment you will use, the settings on your machine, and of course, how to use sonography in your patients. Each part will focus on a specific topic and allow you to experiment with the scanner, adjust the settings on your machine, and get the best out of your ultrasound examination.
You have already learned much about imaging hardware and how to set your depth and gain correctly. But sometimes, all the settings seem good, but you still don't see what you want to see or get the impression it could be better - so today, I want to give you a few tips on how to get a better image in a short video.
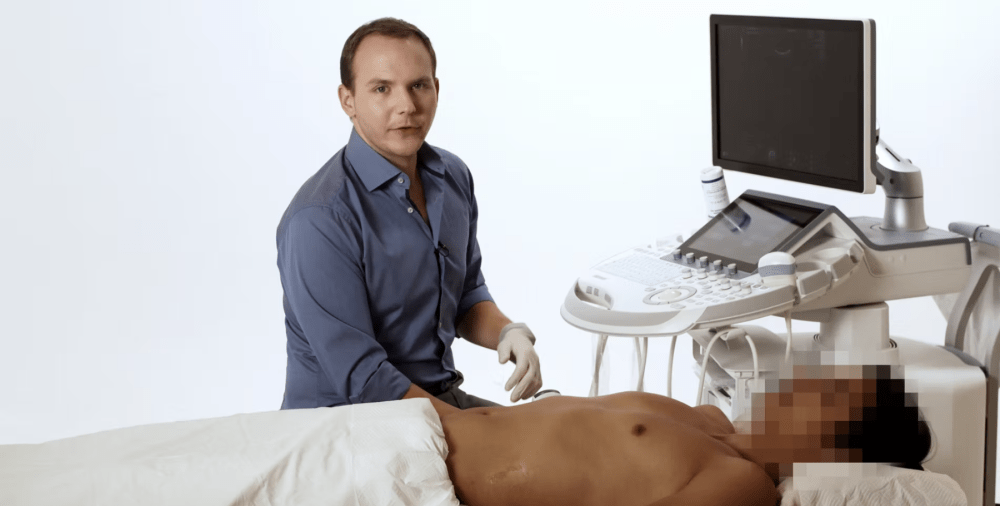
Position and posture
The first tip I want to give you is to optimize your position, the patient's position, and the scanner's position as much as the situation allows. Place yourself in a way that enables you to sit and image as relaxed as possible without turning your head too far to see the screen, unnaturally lifting your shoulder, or stretching to make your back hurt. Not only will years of bad posture lead to orthopedic problems down the road, but also, your hand will be more cramped and become shaky, making imaging harder.
Gel and pressure
The next thing you should make sure of is that ultrasound waves from your transducer actually go into your patient's body. For this to happen, you need to get rid of the air between the transducer and the skin, which can be done by using (more) gel or pressing firmly. The more gel you use, the less hard you have to press (to a certain extent), making the examination less painful for your patient.
Once you have enough contact with the skin, there are still some obstacles to ultrasound beneath the skin - primarily bones, which do not allow the sound waves to pass through, but also air in the lungs or within the bowel. You can try to tilt, turn, and slide the transducer around the area in question (visit part 3 for a repetition of these movements). This will allow you to get another angle on the structure in question, although sometimes, you just won't be able to see everything with ultrasound.
Let the patient help
Another thing that might help you is to let the patient move to your advantage. They can inhale, pushing the diaphragm down and thus the spleen and liver away from the ribs' shadow, for example, or move their arms up above their head, or turn to one side or the other to get the organ in question closer to the skin.
But there aren't only obstacles beneath the skin; there are also organs that can help us get an excellent image - these organs and areas are called acoustic windows. An acoustic window is an area of the body where sound waves can pass through easily, leading to great images. These are soft, solid organs like the liver or the spleen and fluid-filled structures like the urinary bladder. Also, pathologies like a pleural effusion or ascites can serve as an acoustic window and even point you towards your diagnosis. For example, the "spine sign" describes the way the spine can be imaged from the patient's side, above the diaphragm, because there is fluid around the lung (pleural effusion), which would not be possible in a healthy individual (as the air-filled lung won't let soundwaves pass through).
To put all this together and to show you how these little tweaks make a huge difference in your image quality, we have prepared a short video. Just click to watch it!
So, in summary, there are several small movements and skills you can perform in addition to getting all the technical settings on your ultrasound machine right. Now try to practice them with your patients, and I am sure your ultrasound skills will enhance tremendously. Next time, we will discuss B-Mode - the ultrasound mode we have used so far - in more detail and learn some physical principles, vocabulary, and also some limitations of this technology. Until then, practice getting an optimal image, and enjoy imaging!