
Ultrasound 101 - Part 3: Transducer Movements


Welcome to Ultrasound 101. In this 12-part series, we will talk about the basic principles of medical ultrasound, the equipment you will use, the settings on your machine, and of course, how to use sonography in your patients. Each part will focus on a specific topic and allow you to experiment with the scanner, adjust the settings on your machine, and get the best out of your ultrasound examination.
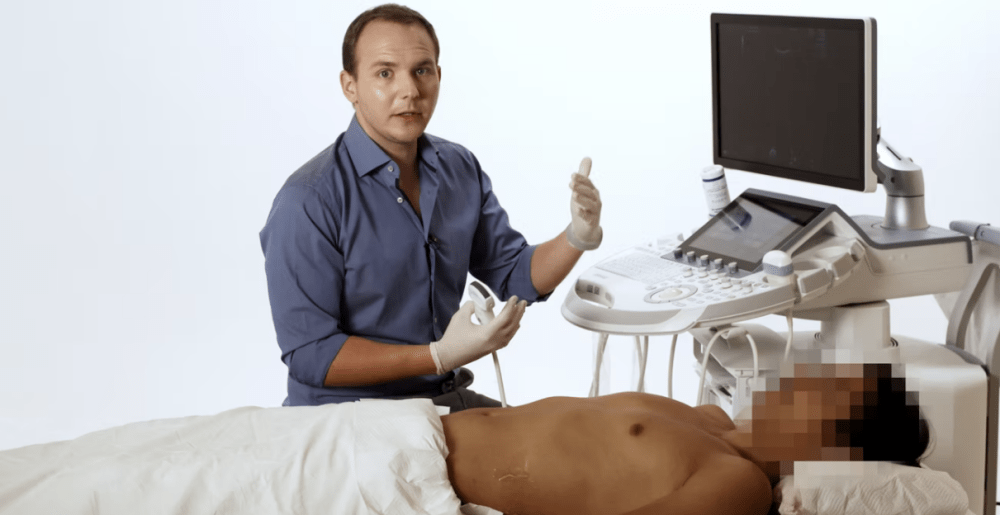
We already talked about the various types of transducers you might use in your clinical practice and how the marker is your most crucial hint in orienting yourself in your image. Now we want to get a feeling for what happens to your ultrasound image when you move your transducer one way or the other. After all, as sonographers, we try to get an appreciation of a 3D structure in the patient’s body using a 2D screen, which means our hand holding the transducer is constantly moving. So let's get started!
There are three basic movements I want to show you today: tilting, sliding, and turning. Tilting and sliding both do not change the orientation of your marker in relation to the patient (i.e., you will stay in a transverse view, for example), but allow you to look over the edge of the screen - either by changing the angle of insonation (tilting), meaning where the ultrasound beam is aimed, or by moving the transducer on your patient’s skin (sliding). Take a look at these two images to see the difference:
Ultrasound Tilting

This is tilting - you are tilting the probe and thus the ultrasound beam that comes out of it.
Ultrasound Sliding

This is sliding - you do not change the angle to the skin, but you move the transducer on the skin.
The third movement, and the most difficult one, in my opinion, is turning. You need to turn your transducer to get from a long to a short axis of an organ or vessel, get rib- or other shadowing out of the way, or identify imaging artifacts. Turning your transducer means the orientation of your image, and with it, your marker’s direction changes, e.g., from the patient’s head to their right side. When turning your transducer, it is crucial that you have the structure you want to turn around (for example, the vessel in question) in the center of your image. Otherwise, you will lose it.
Transducer Turning

This is turning the transducer - again, you do not change the angle to the patient's skin here.
Now, moving the transducer is hard to explain and demonstrate via text, which is why we prepared another short video for you. Watch it now to learn these three movements in detail!
Turning, tilting and sliding a transducer
This part is all about fine motor skills and hand-eye coordination, which take training to do well. So take your time and don't be frustrated if it does not work the first few times, just keep practicing (and when you’re done practicing for the day, playing with your game controller in your downtime will increase your skills here as well, just in case you need an excuse). Next, we will talk about some settings on your machine to get a good image, starting with Depth and Focus. Until then, enjoy imaging!